Preparing Your Home for Interior Painting: A Step-by-Step Guide to Home Painting Preparation
When you decide to refresh your living space with a new coat of paint, the key to a flawless finish lies in the preparation. Preparing your home for interior painting is not just about aesthetics; it’s about ensuring durability and a smooth process. I’ve learned that taking the time to properly prep your walls and rooms can save you from headaches down the line. Let me walk you through the essential steps to get your home ready for a painting project that will transform your space beautifully.
Why Home Painting Preparation Matters
Before you even open a can of paint, preparation sets the stage for success. Skipping this step can lead to peeling, uneven color, and a finish that doesn’t last. When you prepare your home properly, you create a clean, smooth surface that allows the paint to adhere better and look more vibrant.
Preparation also helps protect your belongings and floors from accidental splatters and spills. It’s about respect for your home and the investment you’re making. Whether you’re painting a single room or your entire house, the effort you put into preparation will pay off in the final result.
Essential Steps for Home Painting Preparation
Getting your home ready for painting involves several key tasks. Here’s a detailed checklist to guide you through the process:
1. Clear the Room
Start by removing as much furniture as possible. If some pieces are too large or heavy to move, push them to the center of the room and cover them with drop cloths or plastic sheeting. This protects your belongings from dust and paint splatters.
2. Protect Your Floors
Lay down drop cloths or plastic sheets to cover the floors. Use painter’s tape to secure the edges and prevent paint from seeping underneath. This simple step saves you from costly floor damage and tedious cleanup.
3. Clean the Walls
Walls accumulate dust, grease, and grime over time. Use a mild detergent mixed with water to wash the walls thoroughly. Pay special attention to areas near light switches, door frames, and baseboards. Clean walls help paint stick better and prevent peeling.
4. Repair Imperfections
Inspect your walls for holes, cracks, or dents. Use spackling paste or joint compound to fill these imperfections. Once dry, sand the patched areas smooth with fine-grit sandpaper. This creates an even surface that looks professional once painted.
5. Remove or Tape Off Fixtures
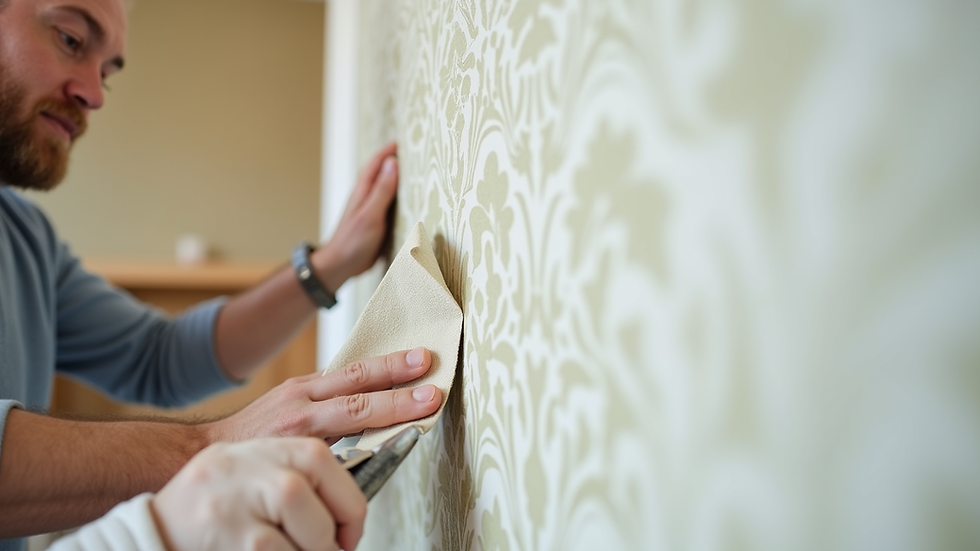
Take down switch plates, outlet covers, curtain rods, and any wall-mounted decorations. For fixtures that can’t be removed, cover them carefully with painter’s tape and plastic. This keeps paint off hardware and ensures clean edges.
6. Sand Glossy Surfaces
If your walls have a glossy finish, lightly sand them to dull the surface. This helps the new paint adhere better. Use a sanding block or fine-grit sandpaper and wipe away dust with a damp cloth afterward.
7. Prime the Walls
Priming is crucial, especially if you’re painting over dark colors, stains, or new drywall. Primer seals the surface and provides a uniform base for the paint. It also improves coverage and durability.

How much should it cost to paint the interior of a 2000 square foot house?
Understanding the cost of painting a 2000 square foot home helps you budget effectively. The price depends on several factors including the quality of paint, labor, surface condition, and the number of rooms.
On average, professional interior painting for a home this size ranges from $3,000 to $7,000. This estimate includes:
Labor: Skilled painters charge between $2 and $6 per square foot.
Materials: High-quality paint and primer can cost $30 to $60 per gallon.
Preparation: Extensive repairs or priming may add to the cost.
Additional Services: Moving furniture, ceiling painting, or trim work can increase expenses.
Keep in mind that investing in quality workmanship and materials pays off in the long run. A well-done paint job lasts longer and looks better, enhancing your home’s value and appeal.
Tips for a Smooth Painting Day
Once your home is prepped, the actual painting day will go much smoother. Here are some tips to keep in mind:
Ventilate the Room: Open windows and use fans to circulate fresh air and speed up drying.
Dress Appropriately: Wear old clothes and comfortable shoes.
Keep Pets and Children Safe: Make sure they stay out of the painting area.
Have Supplies Ready: Brushes, rollers, trays, and painter’s tape should be within easy reach.
Work in Sections: Paint one wall or area at a time to maintain a wet edge and avoid lap marks.
Final Touches After Painting
After the paint dries, there are a few finishing steps to complete your project:
Remove Painter’s Tape: Pull tape off slowly at a 45-degree angle to avoid peeling paint.
Reinstall Fixtures: Put back switch plates, outlet covers, and decorations.
Clean Up: Dispose of drop cloths, clean brushes and rollers, and tidy the room.
Inspect Your Work: Look for missed spots or uneven areas and touch up as needed.

Bringing Your Vision to Life
Preparing your home for interior painting is a rewarding process that sets the foundation for a beautiful transformation. By following these steps, you ensure your walls are ready to showcase the colors and style you’ve chosen. Whether you’re refreshing a single room or tackling your entire home, preparation is the secret ingredient to a flawless finish.
If you want to explore professional options, consider reaching out to experts who specialize in interior painting in NY and CT. Their experience and craftsmanship can help you achieve the dream look you envision with confidence and ease.
Taking the time to prepare your home properly is an investment in quality and longevity. Your walls will thank you with a finish that looks stunning and stands the test of time. Happy painting!
Comments